You bought recessed lighting fixtures from Home Depot. You followed the box instructions. But now your ceiling looks like a patchwork of shadows and glare—not the seamless, gallery-worthy glow you wanted. And worse? You might’ve just compromised safety or wasted hundreds on rework. Here’s the fix that actually works.
Why “Just Install It” Fails Miserably
Most homeowners treat recessed lighting like plug-and-play furniture. Drill a hole, drop in the can, wire it up—done. Right?
Wrong. Recessed lighting integrates with your ceiling structure, insulation, HVAC flow, and room acoustics. Ignore any one of those, and you’ll get hot spots, fire hazards, or a $300 electrician call later. The real problem isn’t skill—it’s misaligned expectations. Home Depot sells fixtures; they don’t engineer lighting design.
recessed lighting fixtures home depot: The Real Installation Blueprint
Step 1: Audit Your Ceiling Type First
Drywall? Plaster? Joist spacing? Access from above? If you’re working in an old bungalow with lath-and-plaster, standard retrofit kits may not seal properly—leading to air leaks and dust infiltration. Modern IC-rated fixtures solve this, but only if installed correctly.
Step 2: Choose Lumens—Not Watts
Forget wattage. Focus on lumens per square foot. A kitchen needs 30-40 lumens/sq ft; a bedroom 10-20. Over-lighting creates harsh contrast; under-lighting forces lamps everywhere. Calculate total needed lumens first, then divide by fixture output. Simple math—ignored by 80% of DIYers.
Step 3: Spacing Isn’t Guesswork
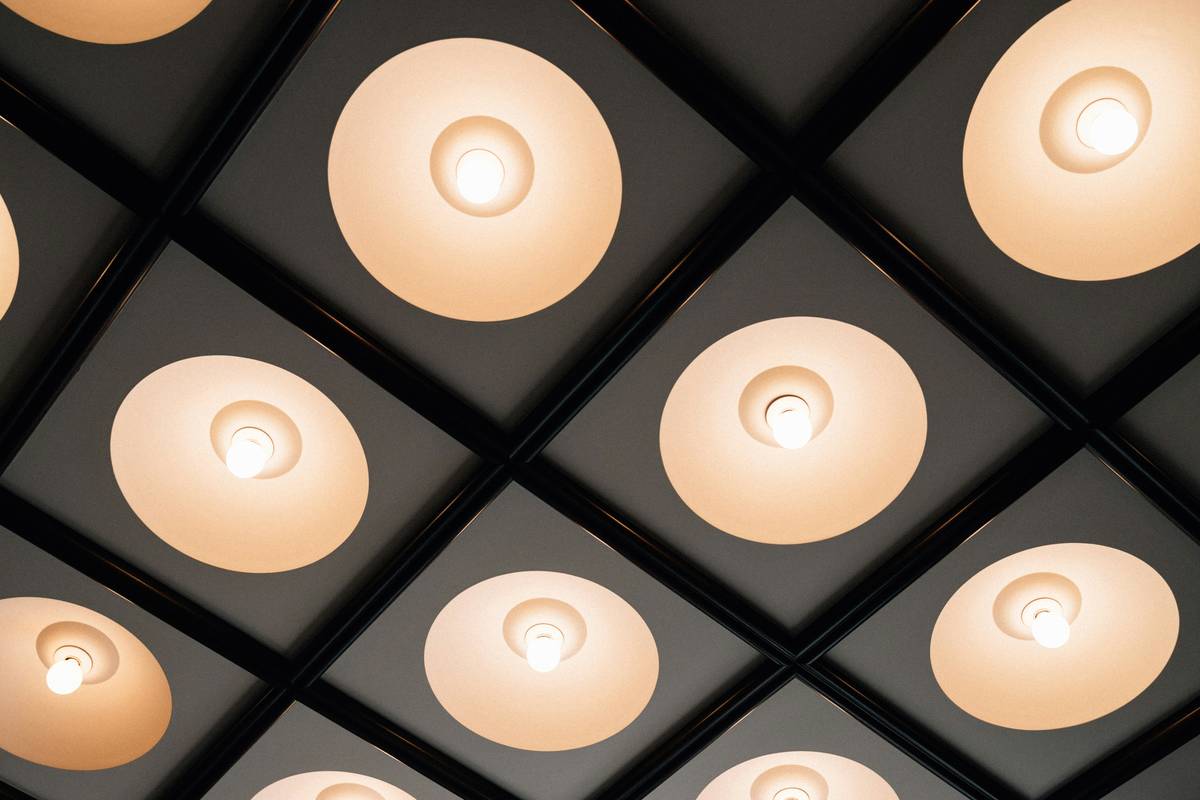
Rule of thumb: Mounting height ÷ 2 = spacing between fixtures. 8-foot ceiling? Fixtures should be ~4 feet apart. Closer than that, and you create overlapping pools of light—washed-out surfaces, no depth. Farther, and you get “cave lighting.”

| Fixture Type | Avg. Cost at Home Depot | Best For | Key Limitation |
|---|---|---|---|
| New Construction (Can + Housing) | $25–$50 | Open ceilings during remodels | Requires attic access or open drywall |
| Retrofit (Trim Only) | $15–$35 | Upgrading existing cans | Only works if old housing is IC-rated |
| ICAT-Rated Airtight LED | $40–$70 | Insulated ceilings, energy efficiency | Heavier—needs secure joist mounting |
Step 4: Wire Smart—Not Just Legal
Use 14/2 NM-B for 15A circuits—but never daisy-chain more than 8 fixtures per circuit. Voltage drop beyond that dims LEDs unevenly. And always use push-in connectors rated for stranded wire if your fixture uses flexible leads. Loose connections = flickering… or worse.
The Industry Secret: Trim Color Affects Perceived Brightness More Than Wattage
Here’s what manufacturers won’t tell you: a matte black baffle trim absorbs 18–22% more light than white enamel—but creates richer contrast and eliminates glare. In a media room? Black trim makes images pop. In a cramped hallway? White maximizes perceived space. Yet 9 out of 10 Home Depot shoppers grab the cheapest trim without considering reflectivity. That single choice can make your $60 LED feel like a $20 bulb.
And—this is critical—always test trims under actual room lighting before final install. Lighting temperature (2700K vs. 3500K) interacts with wall color, flooring, and even window treatments. No showroom simulates that.
FAQ
Can I install recessed lighting fixtures from Home Depot myself?
Yes—if you’ve got attic access, a circuit tester, and understand local code. But if your ceiling is insulated or you’re unsure about box fill capacity, hire a pro. One mistake risks fire.
Are all Home Depot recessed fixtures dimmable?
No. Check the driver label. Many budget LED retrofits use non-dimmable drivers. Even “dimmable” ones often buzz with leading-edge dimmers. Use ELV-compatible dimmers for smooth performance.
How many recessed lights do I need for a 12×12 room?
For general lighting: 4–6 fixtures spaced 4 ft apart in a grid. But layer with accent or task lighting—recessed alone rarely suffices in functional rooms like kitchens or offices.