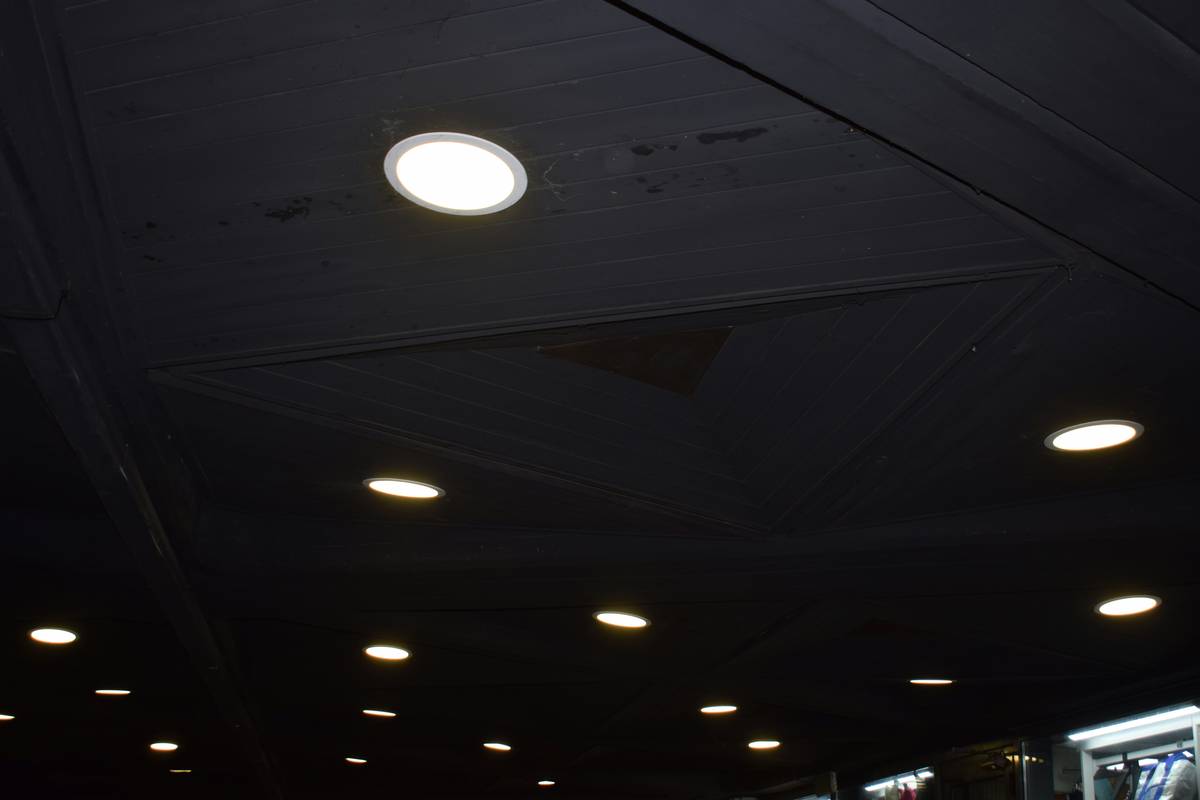
You’ve got dim, uneven lighting. Buzzing fixtures. Maybe one’s gone dark entirely. In a modern home, recessed lighting shouldn’t be a source of frustration—it should disappear into the ceiling while bathing your space in flawless illumination. Yet so many DIY fixes only make things worse. Here’s the truth: most problems stem from overlooked installation flaws or incompatible components—not “faulty wiring” as YouTube gurus claim. This guide cuts through the noise with field-tested steps that actually work.
Why Standard Fixes Fail in Modern Homes
Old tutorials assume you’re working with 1980s-era can lights and thick plaster ceilings. Today’s homes? They’re built tighter—air-sealed, insulated, and packed with smart systems. Slapping in a retrofit LED without checking IC rating or trim compatibility creates heat traps, flickering, or premature failure.
And most homeowners ignore voltage drop. Run ten ultra-bright LEDs on a single circuit with undersized wire? Expect inconsistent brightness from front to back. The math is simple—but often skipped.
Modern Home Recessed How to Fix: Step-by-Step
Fixing isn’t about replacing parts blindly. It’s about diagnosing the root cause—then matching the solution to your home’s specific build era, ceiling type, and fixture model.
Step 1: Identify Your Fixture Type
Is it IC-rated (insulation contact) or non-IC? Remodelable or new-construction housing? Use a flashlight and remove the trim. Look for labels inside the can. No label? Measure the diameter—if it’s ~5.5”, it’s likely a 6” housing. Don’t guess. Wrong assumptions lead to fire hazards or failed inspections.

Step 2: Check Compatibility—Not Just Wattage
LED retrofits must match the housing’s depth, diameter, and thermal design. A bulb rated for “6-inch cans” might physically fit—but if it lacks an integrated heat sink compatible with your airtight housing, it’ll overheat and shut off prematurely.
Step 3: Evaluate Circuit Load & Dimmer Match
Modern LEDs need compatible dimmers. Old TRIAC dimmers cause flicker with low-wattage LEDs. Swap to an ELV (electronic low voltage) or universal dimmer designed for LEDs. Then verify total load: if your circuit runs 15A at 120V, max continuous load is 1,440W—but with ten 10W LEDs, you’re only using 100W. So why flicker? Often, it’s ghost voltage from shared neutrals in smart switches. Isolate the circuit if possible.
| Issue | Likely Cause | Field-Tested Fix | Avg. Cost |
|---|---|---|---|
| Flickering or strobing | Incompatible dimmer or poor neutral connection | Replace with LED-compatible dimmer; check junction box neutrals | $25–$60 |
| Fixture shuts off mid-use | Overheating due to non-IC LED in insulated ceiling | Install IC-rated retrofit kit with thermal cutoff | $30–$75 per fixture |
| Uneven brightness across rooms | Voltage drop from long wire runs or daisy-chained circuits | Add dedicated home-run circuits for lighting zones | $200–$500 (pro install) |
Step 4: Seal Air Leaks (Yes, Really)
Recessed cans are notorious energy drains in modern, sealed homes. Even “airtight” models leak if not properly caulked to drywall. Apply high-temp silicone around the rim before reattaching trim. This reduces HVAC strain—and stops cold drafts from making your space feel dimmer than it is.

The Industry Secret: Trim Matters More Than You Think
Here’s what electricians won’t tell you: the trim—the visible ring—isn’t just cosmetic. Baffle trims reduce glare but cut lumen output by 15–20%. Reflector trims boost brightness but create harsh hotspots. And in open-plan modern homes, inconsistent trims across rooms cause visual dissonance that feels like “bad lighting”—even when the fixtures work perfectly.
The fix? Audit your trims first. Replace mismatched styles with uniform, high-CRI (90+) reflector trims angled toward task areas. Suddenly, your “broken” lighting feels intentional, bright, and cohesive. It costs less than rewiring—and delivers instant ROI in perceived quality.
Frequently Asked Questions
Can I replace old recessed lights with LED without rewiring?
Yes—if the housing is intact and compatible. Use screw-in or integrated retrofit kits rated for your can size and IC status. Never force-fit.
Why do my recessed lights buzz even with LEDs?
Cheap drivers in budget LEDs interact poorly with magnetic transformers or old dimmers. Upgrade to high-quality, dimmable LEDs with soft-start drivers.
How do I fix a recessed light that won’t turn on?
Check the bulb first. Then inspect the socket tab—bent tabs lose contact. Gently pry it up with needle-nose pliers. If still dead, test voltage at the junction box.