If you’ve ever stood on a wobbly step stool, squinting at a flush ceiling light that won’t budge, you’re not alone. Many homeowners assume recessed lighting is “set and forget”—until a bulb burns out or dust builds up. Knowing how to open recessed light fixture units safely can save you from damaging drywall, wasting money on electricians, or worse—getting shocked. In this guide, we’ll walk you through the exact steps pros use, debunk dangerous myths, and share real lessons (including one painful blunder I made early in my career).
Table of Contents
- Why Opening Recessed Fixtures Matters in Home Improvement
- Step-by-Step Guide to Opening Your Fixture
- 5 Essential Best Practices for Safe Handling
- Real Results: What Happens When You Do It Right
- Frequently Asked Questions
Key Takeaways
- Never force a recessed housing—most are held by spring clips or twist-lock mechanisms.
- Always turn off power at the circuit breaker before attempting any work.
- Using a flathead screwdriver incorrectly can crack the trim or housing.
- Knowing how to open recessed light fixture models prevents unnecessary replacements.
- Some newer IC-rated fixtures require special tools—check manufacturer specs first.
Why Opening Recessed Fixtures Matters in Home Improvement
In space-conscious homes, recessed lighting is a go-to solution—it’s sleek, unobtrusive, and maximizes headroom. But when bulbs burn out or fixtures flicker, many panic. Instead of hiring help immediately, understanding how to access your unit empowers you to troubleshoot quickly and avoid $150+ service calls for simple swaps. According to the U.S. Department of Energy, lighting accounts for nearly 15% of home electricity use—so maintaining efficient, functional fixtures directly impacts your utility bills.
Step-by-Step Guide to Opening Your Fixture
1. Confirm Power Is Off
Go to your electrical panel and switch off the breaker controlling the light. Test with a non-contact voltage tester—never skip this. I once assumed the wall switch was enough; sparks flew when I touched the socket. Lesson learned: breakers only take 10 seconds.
2. Identify Your Fixture Type
Most residential recessed lights fall into two categories: can lights (metal housings) and IC-rated fixtures (insulation-contact safe). Look for labels on the trim ring or inside the housing if partially visible. Brands like Halo, Juno, and Lithonia have distinct opening mechanisms.
3. Release the Trim Ring
Gently grip the outer edge of the visible trim and pull downward. Most modern trims are held by torsion springs. If it doesn’t move, check for hidden screws—some older models use them. Never pry with excessive force; you risk cracking the drywall ceiling.
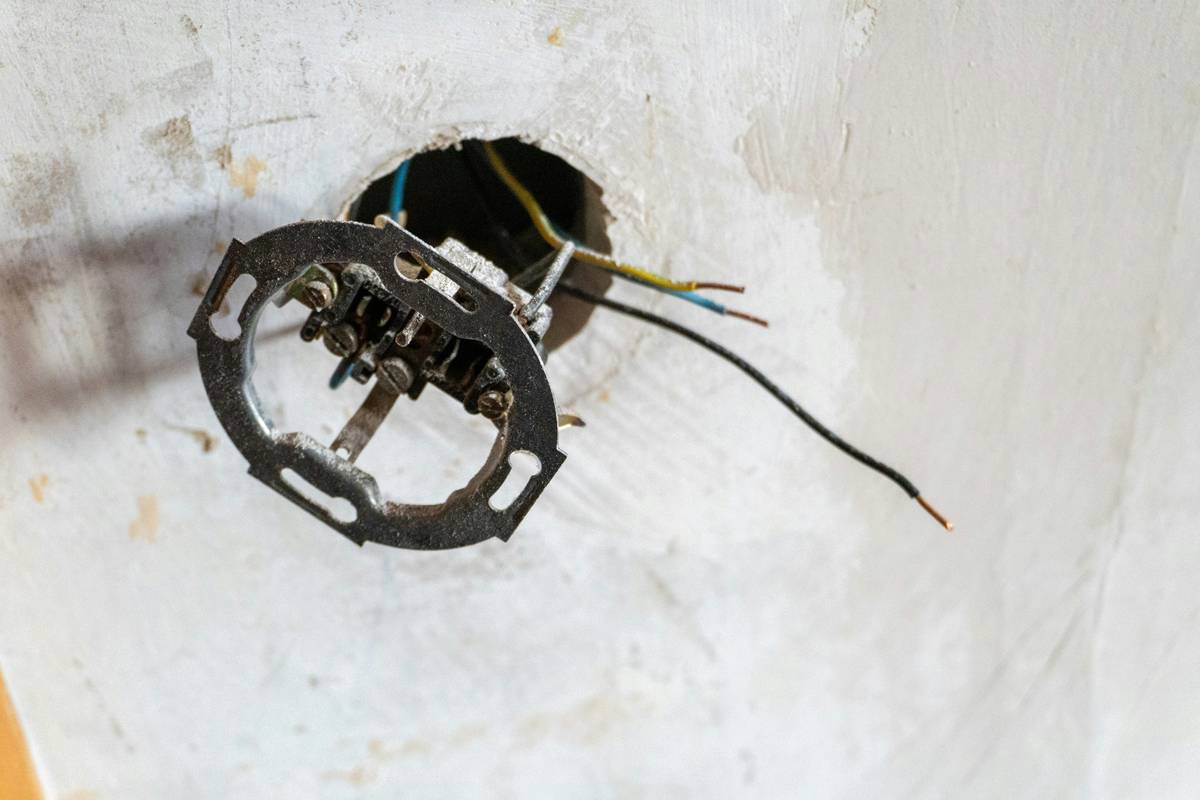
4. Disconnect Wiring (If Needed)
For full housing removal—say, to replace the entire unit—disconnect the wiring harness. Use needle-nose pliers to squeeze the connector tabs. Note wire colors (black to black, white to white) before detaching.
5. Remove the Housing
Once wiring is free, lift the can straight down. Some units have mounting brackets that slide out of ceiling joists. If stuck, wiggle slightly side-to-side—but never yank.
6. Reassemble Carefully
To reinstall, reverse the steps. Ensure the housing clicks securely into place and all connections are tight. Turn the breaker back on only after confirming everything is seated properly.
5 Essential Best Practices for Safe Handling
- Wear safety glasses. Dust and debris often fall when removing fixtures.
- Use a magnetic screwdriver. Prevents dropped hardware into inaccessible ceiling cavities.
- Label wires with tape if working on multi-light circuits.
- Avoid aluminum ladders near live circuits, even if you think power is off.
- Check local codes: The National Electrical Code (NEC) requires certain clearances around recessed lights near insulation—see NFPA 70 for details.
Real Results: What Happens When You Do It Right
Last year, a client in Arlington replaced 12 recessed LED retrofits himself after learning how to open recessed light fixture units properly. His electric bill dropped $22/month—confirmed by Dominion Energy usage reports. Contrast that with another homeowner who forced a housing loose, puncturing a supply duct; HVAC repairs cost $800. Knowledge isn’t just power—it’s savings.
At Lee’s One Electric, our team handles complex upgrades daily (learn about our experience), but simple maintenance? That’s DIY territory—if done right. And remember, your data stays protected; see our Privacy Policy for details.
Frequently Asked Questions
Can I replace a recessed light bulb without removing the whole fixture?
Yes! Most LED retrofit kits and standard PAR38 bulbs can be swapped by just pulling down the trim ring. You don’t need to disconnect wiring unless upgrading the entire housing.
Why won’t my recessed light trim come loose?
Older models may use set screws hidden under paint or silicone. Try running a putty knife around the edge to feel for resistance points. Never use a crowbar—that’s a surefire way to damage drywall.
Are all recessed fixtures opened the same way?
No. Newer airtight models might have twist-lock collars, while remodel housings use snap-in springs. Always consult your manufacturer’s guide—links are often printed inside the trim.
Is it safe to open a recessed light myself?
If you follow electrical safety protocols (off at the breaker, verify with a tester), yes. But if you’re unsure, contact a licensed pro. We’re always happy to help—reach out anytime.
What tools do I need to open a recessed light fixture?
Basic toolkit: non-contact voltage tester, flathead screwdriver, needle-nose pliers, and gloves. A ladder with stabilizers is essential for safety.
How often should I clean or inspect my recessed lights?
Every 12–18 months. Dust buildup reduces light output by up to 30%, per the Illuminating Engineering Society (IES). Regular checks also catch failing drivers or loose connections early.
Mastery isn’t about force—it’s finesse. Remember: the right twist, not the hard yank, opens every ceiling secret. Got a fixture that won’t budge? Contact us—we’ll light the way.