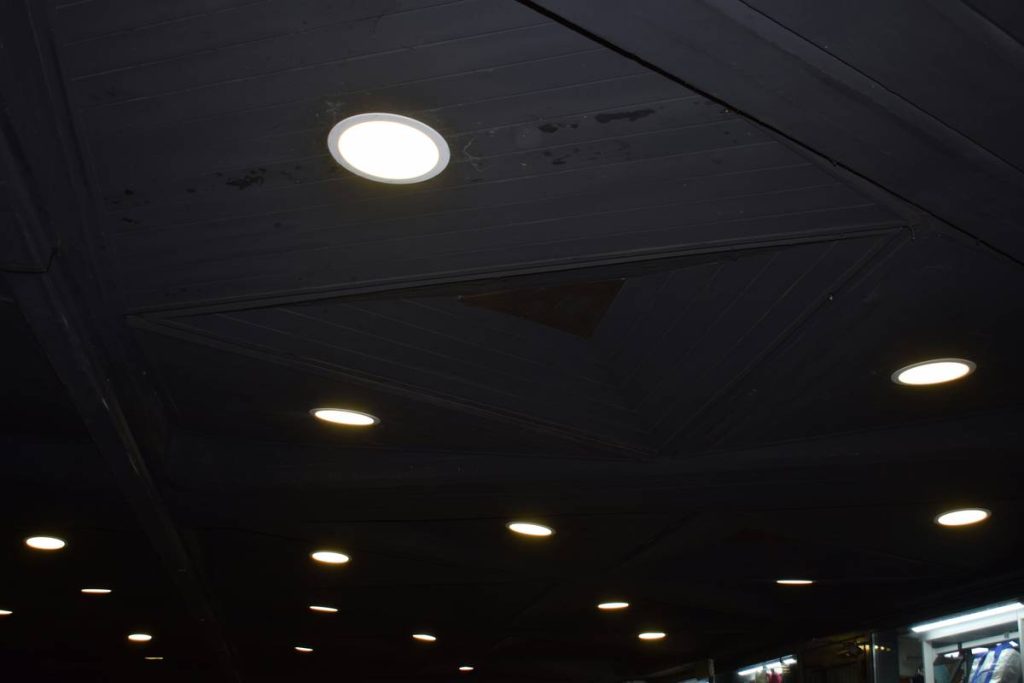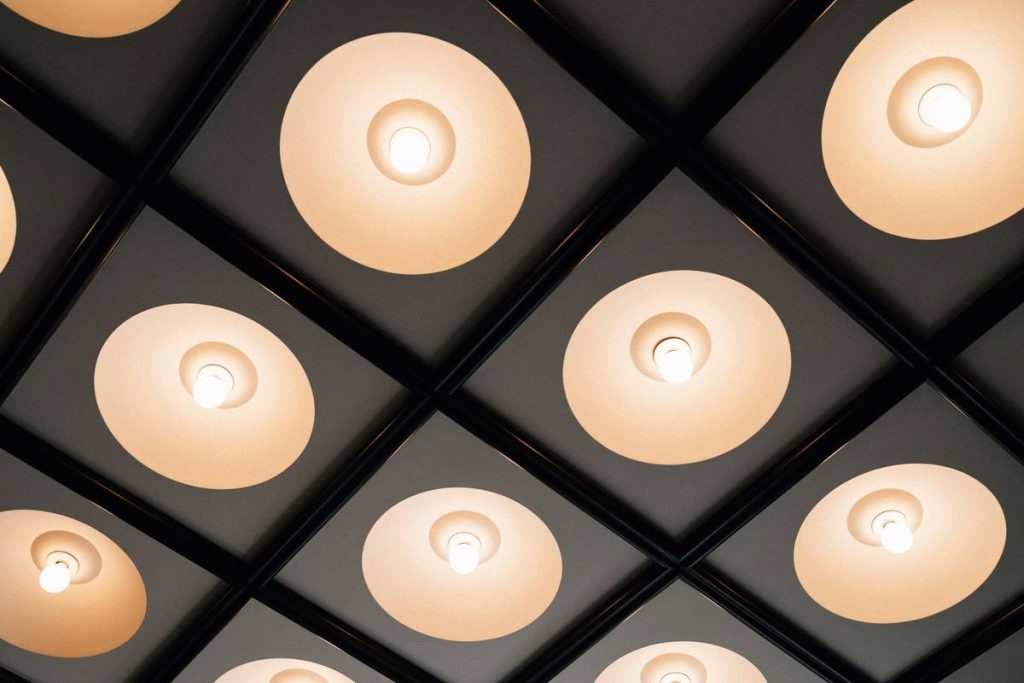
If you’re building a new home, you’ve probably spent hours choosing countertops, flooring, and cabinetry—but have you given your ceiling lights the same attention? Most homeowners overlook recessed lighting until drywall goes up, only to regret spacing errors, poor bulb choices, or missed insulation clearance. As an electrician who’s wired over 200 modern homes, I’ve seen brilliant designs ruined by avoidable oversights. In this guide, we’ll walk through exactly how to plan, install, and optimize recessed lighting for new construction so your ceilings look seamless, your energy bills stay low, and your space feels intentional—not like an afterthought.
Table of Contents
- Why Recessed Lighting Matters in New Builds
- Step-by-Step Installation Guide
- Best Practices & Pro Tips
- Real-World Examples & Results
- Frequently Asked Questions
Key Takeaways
- Plan lighting layout before framing—not after drywall is installed.
- Use airtight, IC-rated housings in insulated ceilings to meet building codes and prevent energy loss.
- Stick to consistent color temperature (2700K–3000K) for a cohesive ambiance.
- Avoid “more is better”—overlighting creates glare and wastes energy.
- Coordinate with your electrician early; retrofits cost 3x more than new-construction installs.
Why Recessed Lighting Matters in New Builds
In modern homes, clean lines and minimalism reign supreme—and recessed lighting delivers that sleek, clutter-free aesthetic better than any surface-mounted fixture. But it’s not just about looks. According to the U.S. Department of Energy, proper lighting design can reduce residential electricity use by up to 15%. When you’re starting from scratch, you have a rare advantage: open walls and ceiling cavities that let you position lights precisely where they’re needed—without cutting into finished surfaces later.
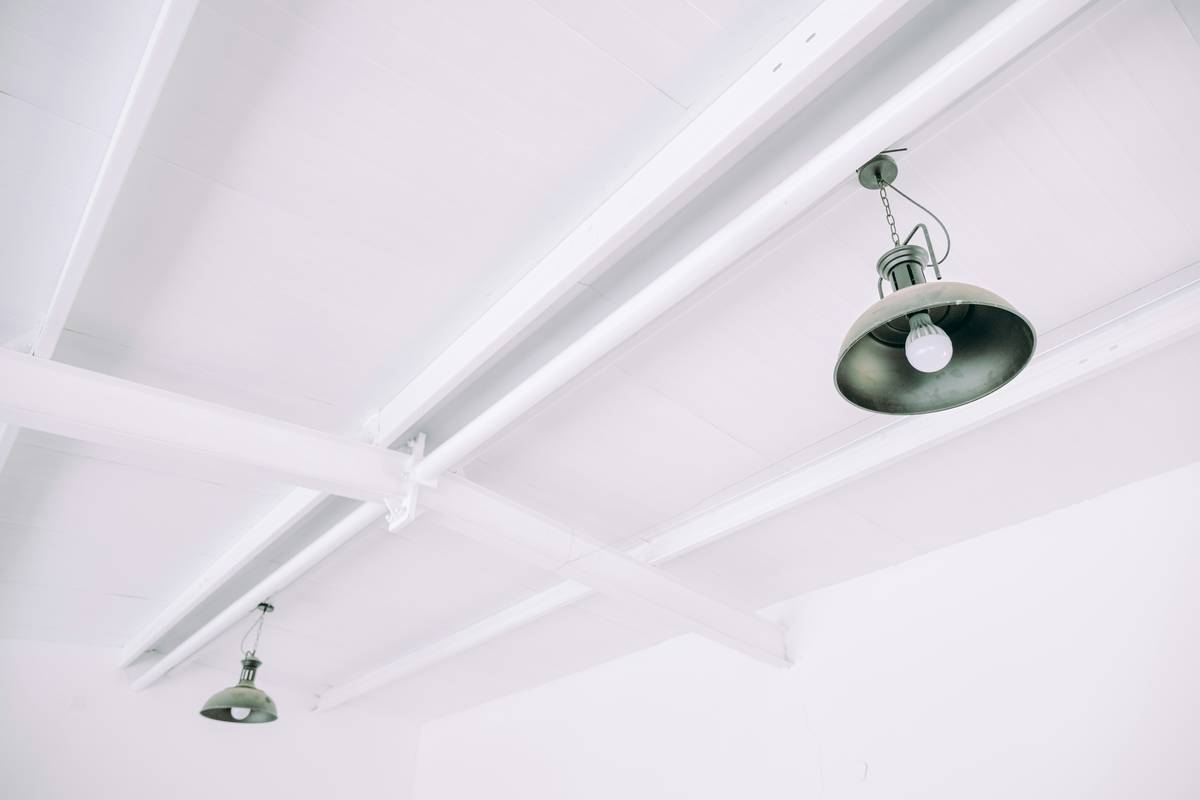
I learned this the hard way on my first spec house build. I assumed all “can lights” were the same and chose budget housings without checking insulation contact (IC) ratings. During the blower door test, air leaked through every fixture like a sieve—failing our energy audit and forcing a $2,400 retrofit. Don’t be me. In new construction, using non-IC-rated cans in insulated attics isn’t just inefficient—it’s often against code.
Step-by-Step Installation Guide
1. Design Your Layout Early
Before framing is complete, sketch your lighting plan on the architectural blueprint. General rule: place fixtures 4–6 feet apart and 2–3 feet from walls. Kitchens need task lighting over counters (18–24 inches from the wall), while living rooms benefit from perimeter-focused ambient lighting. Use free tools like LightSearch’s Lighting Calculator to estimate fixture counts per room.
2. Choose the Right Housing
For new construction, always select “new-construction housings”—they attach directly to joists via mounting brackets. Ensure they’re IC-rated if installed in insulated ceilings and airtight (AT) to prevent conditioned air loss. ENERGY STAR-certified fixtures meet strict performance benchmarks and qualify for certain utility rebates.
3. Coordinate Rough-In With Other Trades
Work with your HVAC and plumbing teams to avoid clashes in ceiling cavities. A recessed light shouldn’t sit directly above a showerhead or intersect with ductwork. Mark all locations with painter’s tape on the subfloor so nothing gets covered during insulation or drywall.
4. Install Trim and Bulbs Last
Wait until after painting to add trim rings and LED bulbs. This avoids scuffing finishes and lets you match the trim style (baffle, reflector, or gimbal) to your final decor.
Best Practices & Pro Tips
- Stick to 4-inch or 6-inch fixtures: Smaller sizes (2–3”) work for accent lighting but lack output for general use. For main rooms, 6-inch provides broader spread.
- Avoid mixing color temps: All bulbs should be 2700K (warm white) or 3000K (soft white). Mixing 4000K+ creates a jarring clinic-like feel.
- Ditch dimmer myths: Not all LEDs are dimmable—check compatibility with your dimmer switch. Lutron and Leviton offer reliable models tested with major bulb brands.
- Terrific tip? Skip symmetrical grids: Uniform rows look robotic. Instead, layer lighting—ambient + task + accent—for depth and flexibility.
And here’s a “terrible tip” you’ll hear online: “Just fill every ceiling bay with a can light.” That’s how you get a blinding, cave-like space with zero mood control. Less is more.
Real-World Examples & Results
Last year, we wired a 2,800 sq ft modern farmhouse in Austin. The owners wanted gallery-style lighting in their open-concept main floor. We installed 22 IC/AT-rated 6-inch fixtures—spaced asymmetrically—with 2700K tunable-white LEDs controlled by smart dimmers. Post-occupancy energy monitoring showed lighting accounted for just 9% of total electricity use, well below the national average of 15% (U.S. DOE, 2023). Even better? Their realtor noted the lighting was a selling point during showings.
At Lee’s One Electric, we’ve refined our approach through projects like this—combining technical precision with human-centered design. Learn more about our values on our About Us page.
Frequently Asked Questions
Can I install recessed lighting in a vaulted ceiling?
Yes—but only if there’s adequate clearance above the fixture. Steep slopes may require shallow housings or alternative solutions like linear cove lighting.
How many recessed lights do I need per room?
Calculate by multiplying room square footage by 1.5 (for foot-candles needed), then divide by bulb lumen output. Example: a 12×12 bedroom (144 sq ft) needs ~216 lumens per sq ft; with 800-lumen bulbs, you’d need about 4 fixtures.
Are LED retrofits compatible with new-construction housings?
Absolutely. Most new-construction cans accept standard LED retrofit modules. Just verify trim size (usually 5”–6”) and whether the housing is sloped-ceiling rated if needed.
Does recessed lighting for new construction increase home value?
When done well, yes. According to a 2022 National Association of Realtors report, updated lighting ranked in the top 5 interior features influencing buyer decisions.
Do I need an electrician for installation?
While DIY is possible, miswiring, improper box fill, or code violations can lead to fire hazards or failed inspections. At Lee’s One Electric, we handle permits, inspections, and seamless integration with your builder’s timeline.
Planning recessed lighting for new construction isn’t just wiring—it’s sculpting how light lives in your home. Get it right, and you’ll enjoy effortless ambiance for decades. Get it wrong, and you’ll live with shadows, glare, or costly fixes. Ready to illuminate your build flawlessly? Contact us today—and rest easy knowing your data stays protected under our Privacy Policy.
Final thought: Great lighting doesn’t shout. It whispers, “You belong here.”