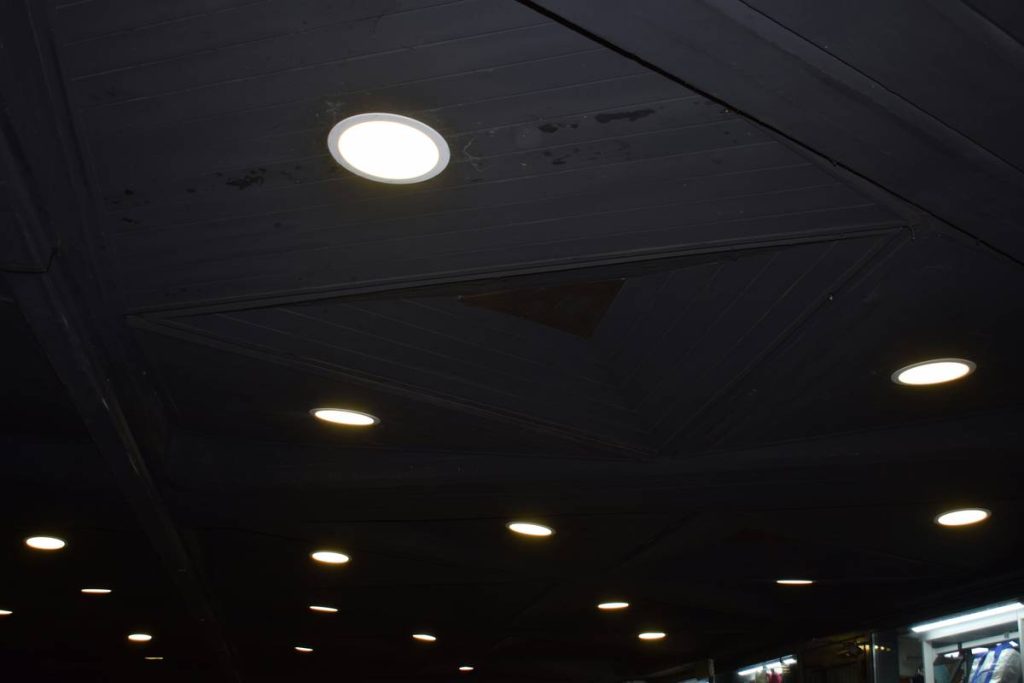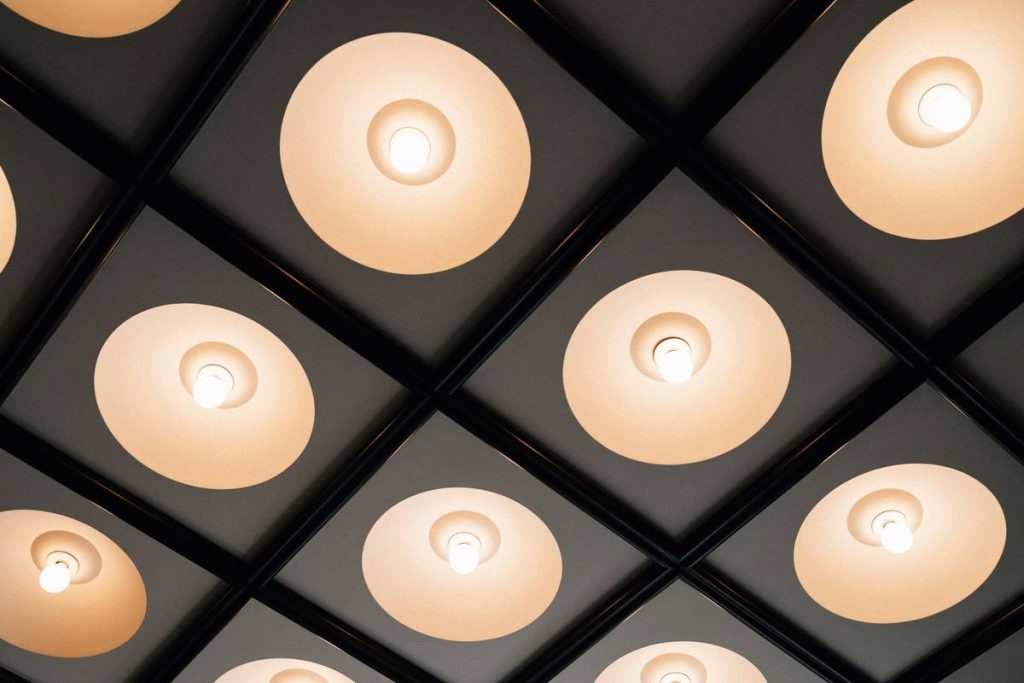
Flat, shadowless ceilings. Wasted energy. That “builder-grade” look that screams temporary—not timeless. You’ve upgraded your kitchen countertops and smart thermostat, but your lighting still feels like an afterthought. And it’s dragging down your entire aesthetic. The good news? Modern home recessed benefit of lighting isn’t just about looks—it’s a strategic upgrade that reshapes space, saves money, and elevates mood without a single visible bulb.
Why Surface-Mounted Lights Fail in Modern Homes
Track lighting. Flush mounts. Chandeliers in every room. They worked in 2005. Today? They clash with clean lines, minimal walls, and open floor plans. Worse—they create hotspots and glare while leaving corners in gloom. Recessed fixtures disappear into architecture. They let your materials—concrete, walnut, plaster—become the stars. But install them wrong, and you’re stuck with cave-like rooms or sky-high electricity bills. It’s not the fixture—it’s how you deploy it.
How to Install Recessed Lighting Like a Pro (Without Rewiring Your Whole House)
Forget “more cans = better light.” That myth bankrupts budgets and flattens depth. Smart recessed lighting uses layers: ambient, task, accent. Here’s how to get it right—on time and under budget.
Step 1: Ditch the Grid Mentality
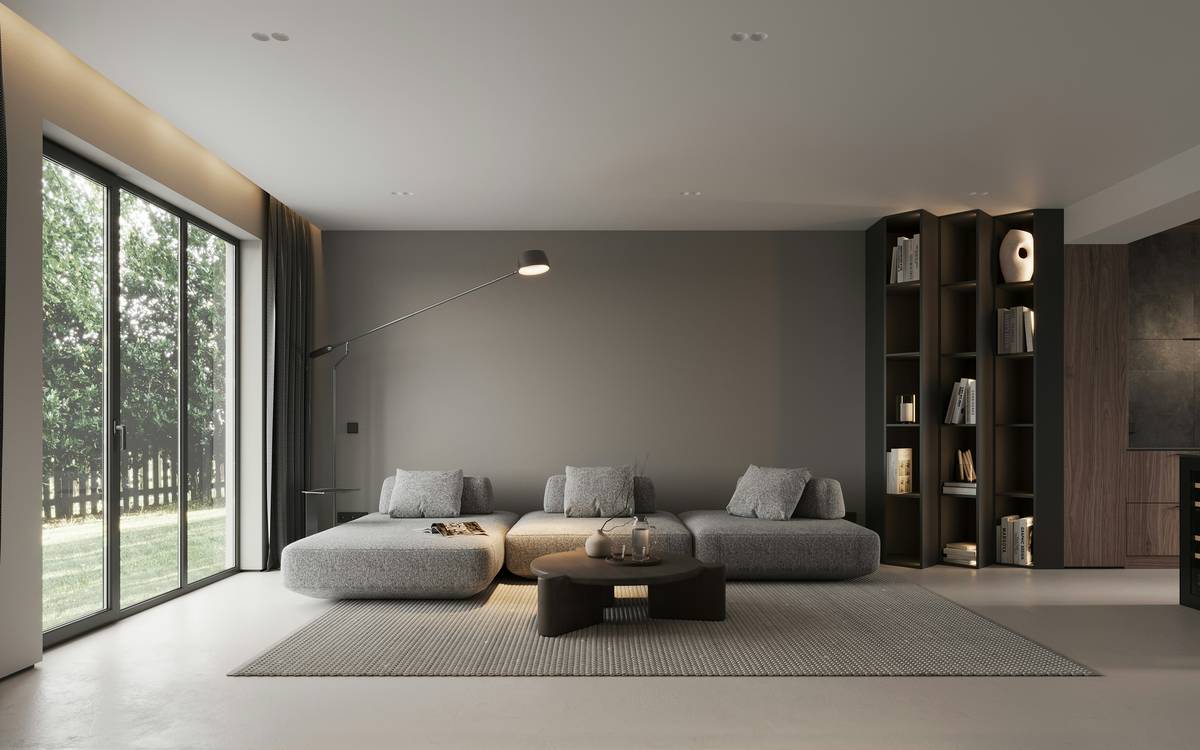
Staggering fixtures along walls—not centered in rooms—creates dimension. Light bounces off surfaces instead of drilling straight down. Walls feel taller. Ceilings recede. Try spacing: one row 24–30 inches from perimeter walls, then fill inward only if needed for task zones (kitchen counters, reading nooks).
Step 2: Choose Trim & Bulb Like a Designer
Baffle trims reduce glare—ideal for living areas. Adjustable trims let you highlight art or shelves post-install. And always use 2700K–3000K LEDs. Anything cooler feels clinical. Look for CRI >90 so wood tones and fabrics look true-to-life—not washed out.
Step 3: Go Smart (But Not Too Smart)
Hardwired dimmers beat app-controlled systems for reliability. But pairing recessed cans with motion sensors in hallways or pantries? Pure ROI. No more “Did I leave the basement light on?” anxiety.
| Installation Approach | Average Cost per Fixture | Energy Efficiency | Design Impact |
|---|---|---|---|
| Old-School Grid (6″ cans, uniform spacing) | $85–$120 | Moderate (non-dimmable LEDs common) | Flat, institutional |
| Layered Zoning (mix of 4″ & 6″, wall-focused) | $110–$160 | High (dimmable, high-CRI LEDs) | Architectural depth, museum-quality focus |
| Retrofit with Smart Controls | $140–$200 | Very High (adaptive scheduling, occupancy sensing) | Invisible automation—light follows life |
The Industry Secret: Your Ceiling Height Dictates Everything
Here’s what electricians won’t tell you unless you ask twice: ceiling height changes beam spread math. In 8-foot rooms, 4-inch fixtures with 40-degree beam angles prevent “spotlight effect.” But in 10+ foot ceilings? You need wider 60-degree floods—or you’ll get isolated pools of light floating in darkness. And don’t even think about using standard downlights above a dining table; tilt-adjustable trims are non-negotiable for casting warm pools exactly where forks meet plates. Get this wrong, and no amount of decor fixes the imbalance.
FAQ
What’s the biggest mistake homeowners make with recessed lighting?
Over-lighting. Too many fixtures kill ambiance. Stick to 1–2 per 25 sq ft max—and layer with floor or wall sources.
Can recessed lights work in bedrooms?
Absolutely—but use dimmable 2700K LEDs near beds. Avoid direct overhead aiming; stagger fixtures toward nightstands instead.
Do recessed lights increase home value?
Yes—if professionally installed with cohesive design intent. Buyers notice thoughtful lighting more than extra closet space.