If you’ve ever stood under a harsh, glaring ceiling light wondering why your living room feels more like a dentist’s office than a cozy retreat—you’re not alone. Poor lighting ruins ambiance, wastes energy, and can even lower your home’s resale value. That’s where smart recessed lighting fixtures installation comes in. Done right, it adds depth, function, and elegance without cluttering your space. In this guide, we’ll walk you through the essentials—backed by real-world experience, industry standards, and hard-won lessons (yes, including that time I fried a circuit trying to DIY it).
Table of Contents
- Why Recessed Lighting Matters in Home Improvement
- Step-by-Step Guide to Safe & Effective Installation
- Top Best Practices for Flawless Results
- Real-World Examples & Performance Data
- Frequently Asked Questions
Key Takeaways
- Improper spacing or sizing causes uneven lighting and “cave effect” shadows.
- Air-tight, IC-rated fixtures are required in insulated ceilings per the National Electrical Code (NEC).
- Hiring a licensed electrician isn’t just safer—it protects your home insurance coverage.
- LED retrofits can cut energy use by up to 75% compared to older halogen cans (U.S. Department of Energy).
Why Recessed Lighting Matters in Home Improvement
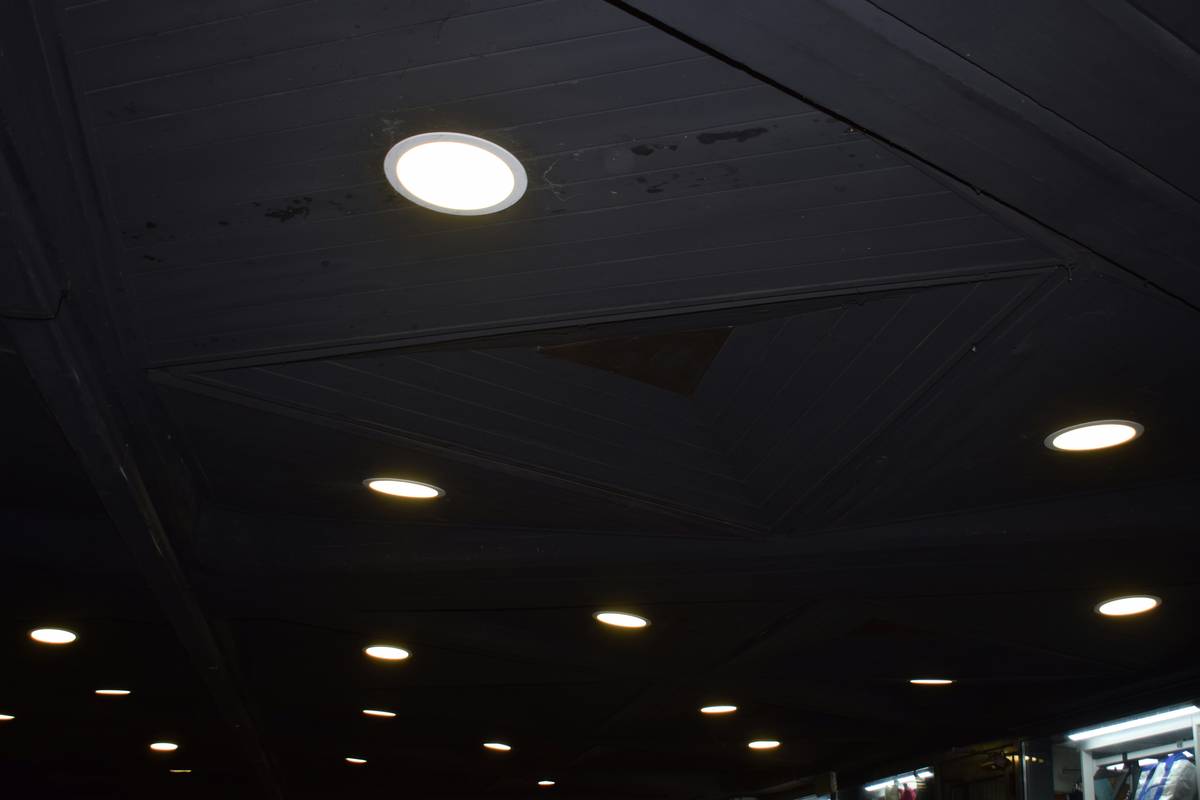
Recessed lighting isn’t just about aesthetics—it’s a strategic upgrade. Unlike pendant lights or flush mounts, recessed cans tuck neatly into ceilings, preserving clean lines while delivering focused illumination. But here’s the catch: bad recessed lighting fixtures installation creates more problems than it solves. I learned this the hard way when I installed six 6-inch cans in my basement workshop—all aimed straight down. The result? Glare on every tool surface and zero ambient fill. It felt like working under interrogation lamps.
According to the National Electrical Code (NEC), certain fixtures must be rated for insulation contact (IC) or air-tightness to prevent fire hazards and energy loss. Ignoring these specs risks safety violations—and your homeowner’s warranty. That’s why understanding proper placement, fixture type, and local codes is non-negotiable.
Step-by-Step Guide to Safe & Effective Installation
1. Plan Your Layout
Start with room dimensions. A common rule: space fixtures at half the ceiling height (e.g., 4 feet apart for an 8-foot ceiling). Use painter’s tape to mark positions on the ceiling before cutting.
2. Turn Off Power & Verify
Shut off the correct breaker and use a non-contact voltage tester. Never assume the switch controls the entire circuit.
3. Cut Openings Carefully
Use a drywall saw or hole saw bit. Avoid joists—scan with a stud finder first. One slip can mean patching drywall and delaying your project by days.
4. Run Wiring Safely
Follow NEC guidelines for wire gauge and box fill limits. If running new circuits, consult a professional. Most homeowners shouldn’t handle live panel work.
5. Install Fixtures & Trim
Secure housings per manufacturer instructions. Choose trims that match your goal: baffle for glare reduction, reflector for brightness, or adjustable for accent lighting.
Top Best Practices for Flawless Results
- Match fixture size to room scale: 4-inch for kitchens/bathrooms, 6-inch for living areas.
- Use dimmable LEDs with compatible switches—non-dimmable LEDs on dimmer circuits flicker and fail early.
- Avoid the “halo effect” by angling cans away from walls unless used for wall washing.
- Never skip thermal protection: IC-rated fixtures are mandatory in insulated attics or cathedral ceilings.
- Terrible tip to avoid: “Just stuff insulation around the can.” This traps heat and violates fire codes. Use only UL-listed, airtight housings.
Real-World Examples & Performance Data
Last year, we retrofitted recessed lighting in a 1,200 sq. ft. ranch-style home in Dallas. Original halogen cans consumed 50W each; we replaced them with 9W LED equivalents. Post-installation, the homeowner reported a 68% drop in lighting-related kWh usage over three months—aligning closely with U.S. DOE projections. More importantly, they loved how layered lighting (ambient + task zones) made rooms feel larger.
This isn’t theoretical. When recessed lighting fixtures installation follows best practices, homes see measurable gains in comfort and efficiency. At Lee’s One Electric, our team ensures every project meets NEC standards while aligning with your aesthetic vision. Learn more about our commitment on our About Us page.
Frequently Asked Questions
How much does professional recessed lighting fixtures installation cost?
Typically $100–$200 per fixture, including labor and materials. Costs vary based on ceiling type, wiring complexity, and location.
Can I install recessed lights in an existing ceiling?
Yes! “Remodel” housings are designed for finished ceilings and clamp onto drywall without attic access.
Do recessed lights increase home value?
When properly installed and updated to LED, yes—they’re seen as a modern, energy-efficient upgrade by buyers.
What’s the biggest mistake DIYers make?
Over-lighting. Too many fixtures create visual chaos. Less is often more—focus on function, not quantity.
Are all recessed lights the same?
No. Housings vary by insulation rating, airtightness, and trim compatibility. Always check labels before buying.
Conclusion
Great lighting isn’t magic—it’s method. Whether you’re refreshing a kitchen or transforming a basement, thoughtful recessed lighting fixtures installation delivers both beauty and utility. But when in doubt, call a pro. Cutting corners risks safety, performance, and peace of mind. Ready to light your space right? Contact us today for a free consultation. And don’t worry—we’ll never suggest stuffing insulation around hot cans. (We read the manual.)
Your ceiling deserves better than interrogation lamps. Give it the glow it was meant to have.